


Ever notice how that streak of sunlight catching your lens in just the right way can turn an ordinary snapshot into something magical? You’re not alone. From the iconic sunbursts in Star Trek to the dreamy haze in your favorite influencer’s sunset shot, lens flare is a secret weapon for adding drama and emotion. But capturing it perfectly in-camera? That’s often pure luck. What if you could harness that magic precisely every single time? Enter Photeeq Lens Flare – the game-changing tool putting creative light control directly into the hands of photographers and digital artists. Ready to stop chasing light and start designing it?
What Exactly Is Photeeq Lens Flare? Your Digital Light Studio
Think of Photeeq Lens Flare not just as an effect, but as a sophisticated digital lighting technician. It’s a dedicated feature (often within broader photo editing software like Photeeq Pro or available as a standalone plugin) designed to overlay realistic and customizable lens flare effects onto your images after you’ve taken the shot. Forget the limitations of your physical lens or waiting for the perfect sun angle.
Photeeq Lens Flare intelligently simulates the complex physics of light interacting with glass elements inside a camera lens. This results in two main types of effects you can control:
- Starbursts: Those sharp, defined rays of light radiating from a bright source (like the sun or a streetlamp).
- Ghost Artifacts: The softer, often polygonal shapes or blobs of colored light that appear elsewhere in the frame, caused by internal reflections.
The Core Idea: It gives you the aesthetic impact of high-end optics and perfect lighting conditions, without needing expensive gear or perfect weather. It’s about creative enhancement, not just imitation.
Why Photographers & Artists Are Flocking to This Tool
So, why is Photeeq Lens Flare causing such a buzz? It boils down to solving real creative pain points with elegance and power. Here’s the lowdown:
- Unleash Creativity, Anywhere, Anytime: Stuck shooting in flat, overcast light? No problem. Need a warm sunset flare for a midday urban shot? Photeeq delivers. It liberates you from being a slave to natural conditions.
- Precision Control is King: Unlike basic “lens flare” filters that slap on a generic, often cheesy effect, Photeeq offers granular control. Think dials and sliders for:
- Intensity: How strong or subtle is the flare?
- Color Temperature: Warm golden hour hues or cool blue moonlight tones?
- Placement & Angle: Pinpoint exactly where the flare originates and how it travels across your image.
- Shape & Style: Choose from authentic simulations based on real lens types or more stylized, artistic interpretations.
- Individual Element Control: Often, you can tweak specific ghost artifacts or starburst points independently.
- Massive Time Savings: Trying to capture the perfect flare in-camera can take countless attempts. Simulating one realistically from scratch in Photoshop is a complex, time-consuming process. Photeeq Lens Flare streamlines this with presets and intuitive tools, slashing post-production hours. Wedding photographer Elena Rivera notes, “Adding that perfect cinematic flare to a couple’s first dance shot used to take me 15-20 minutes manually. With Photeeq, I get a more realistic result in under 60 seconds. It’s a workflow revolution.”
- Consistency is Key (Especially for Video): For filmmakers or anyone creating a series of images, matching the look and feel of lens flares across multiple shots or frames is crucial. Photeeq makes achieving this consistency effortless.
- Risk-Free Experimentation: Not sure if a strong blue flare or a subtle golden one works better? Tweak it live! This encourages artistic exploration you might never attempt with a physical lens for fear of missing the shot.
Natural vs. Artificial Flare: Busting the Myths
Let’s tackle a common concern head-on: “Won’t added lens flare look fake?” This is where Photeeq Lens Flare truly shines (pun intended!) and separates itself from cheap imitations.
- Myth 1: All Artificial Flares Look Cheesy: Early digital flare effects often did – they were obvious, poorly blended, and physically implausible. Photeeq is built on real-world optical physics. It simulates how light actually bounces around multi-element lenses, resulting in flares that interact believably with your image’s existing light sources, highlights, and even dust particles.
- Myth 2: You Can Always Tell It’s Fake: A well-applied Photeeq flare, using appropriate settings for the scene’s lighting direction and intensity, is incredibly convincing. The key is subtlety and matching the physics. Does a flare appear where a bright light source would logically cause it in your composition? Does its intensity match the scene’s exposure? Photeeq gives you the tools to make it so.
- Myth 3: It’s Only for Over-the-Top Effects: While it can create dramatic sci-fi flares, its true power often lies in subtlety. A faint warm ghost artifact can add depth and mood to a portrait. A soft starburst can enhance a sunbeam filtering through trees. It’s about enhancing reality, not replacing it with neon rainbows (unless that’s your creative goal!).
Also Read: Free best online image upscale: AI Ease Image Upscaler
Natural Lens Flare vs. Photeeq Lens Flare – Key Differences
| Feature | Natural Lens Flare (In-Camera) | Photeeq Lens Flare (Artificial) |
|---|---|---|
| Control | Limited (Angle, aperture, lens hood) | Complete Precision (Placement, intensity, color, style) |
| Predictability | Unpredictable, depends on conditions | Fully Predictable & Repeatable |
| Time/Cost | Requires specific gear/conditions, trial & error | Fast & Efficient, no special optics needed |
| Consistency | Hard to match across shots | Easy Consistency across images/video |
| Creative Scope | Limited to physical possibilities | Limitless Styles (Realistic to highly stylized) |
| Risk | Can ruin a shot if unwanted | Non-Destructive, experiment freely |
Putting Photeeq Lens Flare to Work: Real-World Magic
How does this translate into actual photo enhancement? Let’s look at some common scenarios:
- Portrait Perfection: Add a subtle warm flare originating just outside the frame to gently illuminate a subject’s hair or shoulder, creating separation from the background and a sun-kissed, ethereal glow. Avoids harsh lighting setups.
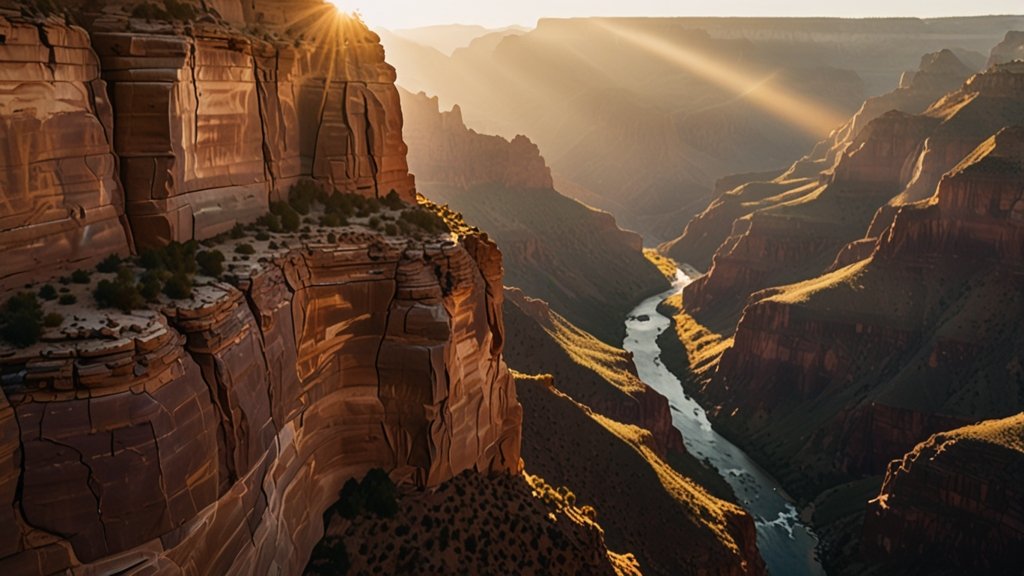
- Landscape Drama: Enhance a sunrise or sunset by placing a convincing starburst over the sun, intensifying the golden hour mood. Add soft ghosting to bright clouds or water reflections for added depth and atmosphere. Imagine a mountain vista at dawn – Photeeq could paint the light dancing on the peaks exactly where you envision it.
- Urban Edge: Introduce cool-toned streaks or ghost artifacts from artificial light sources (streetlamps, neon signs) to give cityscapes a gritty, cinematic, or futuristic vibe.
- Product & Still Life: Create highlights and lens artifacts that mimic expensive studio lighting or the look of high-end macro photography, adding polish and dimension to product shots.
- Video Cinematics: Consistently add flares across a sequence of shots to establish a signature look, enhance transitions, or draw the viewer’s eye. Essential for music videos, commercials, and indie films.
Getting Started with Photeeq Lens Flare: Your Quick Guide
Ready to dive in? Here’s how to avoid common pitfalls and get stunning results fast:
- Start with the Light Source: Identify the brightest point(s) in your image where a flare would logically originate (sun, lamp, bright window). Place your Photeeq flare origin point here for maximum realism.
- Presets are Your Friend (Initially): Don’t reinvent the wheel. Browse the included presets (e.g., “Anamorphic Warm,” “Subtle Blue Ghost,” “Vintage Starburst”) to find a starting point close to your vision.
- Dial Down the Intensity: Our natural tendency is often to overdo it. Less is usually more. Start with a lower intensity and gradually increase it until the effect feels integrated, not slapped on. Aim for enhancement, not domination.
- Match the Color Temperature: Is your scene warm (sunset) or cool (moonlight, shade)? Adjust the flare’s color temperature to blend seamlessly. A warm flare in a cool scene screams “fake!”
- Consider the Angle: The angle of the flare streaks should logically align with the position of your virtual light source relative to the lens. Most tools have an angle control – use it!
- Blend Modes & Opacity: Experiment with layer blend modes (like Screen, Linear Dodge (Add), or Soft Light) for more natural integration. Adjusting the overall opacity is crucial for subtlety.
- Masking is Magic: Use layer masks to prevent the flare from washing out important details on your subject or in dark areas. A soft brush can erase parts of the flare seamlessly.
5 Pro Tips to Master Lens Flares Like a Cinematographer Today
- Observe Real Light: Study how light interacts with lenses in movies, real photos, and even through your own camera. Notice the shapes, colors, and intensity variations. Authenticity starts with observation.
- Layer Multiple Flares: Rarely does real flare consist of just one element. Try adding a subtle starburst combined with one or two softer, differently colored ghost artifacts for a more complex, realistic look.
- Add Imperfections: Real lens flares can have slight chromatic aberration (color fringing) or interact with lens dust. Some advanced tools (or careful manual tweaking in Photeeq) can simulate this for extra authenticity.
- Context is Everything: A massive anamorphic flare works in a spaceship battle scene but might overwhelm a quiet portrait. Always tailor the style and intensity to the image’s subject and mood.
- Use it Sparingly as Glow: Sometimes, the most effective use isn’t a defined flare shape, but a very soft, broad glow emanating from a light source to lift shadows and add atmosphere without being obvious.
Illuminate Your Creative Vision
Photeeq Lens Flare isn’t about cheating reality; it’s about expanding your creative vocabulary. It transforms a fascinating optical artifact into a deliberate, powerful storytelling tool. By giving you unprecedented control over the style, intensity, and placement of lens flares, it empowers you to inject mood, depth, and that elusive cinematic quality into your images with remarkable speed and precision. Whether you’re subtly enhancing a portrait, adding drama to a landscape, or crafting a bold visual signature for your brand, mastering this tool opens up a world of luminous possibilities. Ditch the limitations of chance and start painting with light.
So, what kind of light will you design next? Share your most stunning before-and-after flare transformations in the comments below!
You May Also Read: What LightSeal Thickness for Canon F1 Ensures Perfect Shots
FAQs
Q: Is Photeeq Lens Flare difficult to learn?
A: Not at all! While it offers deep controls for pros, its intuitive interface and presets make it accessible for beginners. You can achieve great results quickly, then explore advanced options as you get comfortable.
Q: Does it work with video editing software?
A: Yes! This is a major strength. Photeeq Lens Flare typically integrates seamlessly as a plugin or filter within popular video editors like Adobe Premiere Pro, Final Cut Pro, and DaVinci Resolve, allowing for consistent flare effects across your footage.
Q: Can I use Photeeq Lens Flare to remove unwanted lens flare?
A: No, that’s a different tool. Photeeq Lens Flare is specifically for adding and enhancing flares. For removal, you’d need dedicated retouching tools like the Healing Brush or Clone Stamp in Photoshop, or specialized plugins for flare removal.
Q: Are the flares really convincing, or will they look obviously fake?
A: When used skillfully (starting subtly, matching light sources, using realistic presets), Photeeq produces highly convincing flares. Its algorithms are based on real lens optics. The key is avoiding overuse and ensuring the flare placement makes physical sense within the image.
Q: Does Photeeq Lens Flare work as a standalone app, or do I need other software?
A: It depends on the specific version. Photeeq Lens Flare is often a feature within the broader Photeeq photo editing suite. Sometimes it’s also available as a standalone plugin for popular hosts like Photoshop, Lightroom, or the video editors mentioned above. Check the product details.
Q: What file formats does it support?
A: Photeeq Lens Flare, as part of an editor or plugin, works with all standard image and video formats the host software supports (JPEG, PNG, TIFF, RAW files, MP4, MOV, etc.).
Q: Is it resource-intensive? Will it slow down my computer?
A: Applying complex flares, especially to high-resolution images or video, requires processing power. Performance depends on your computer’s specs (CPU, GPU, RAM). Modern systems handle it well, but very complex projects might experience some slowdown, typical of most advanced image/video effects.