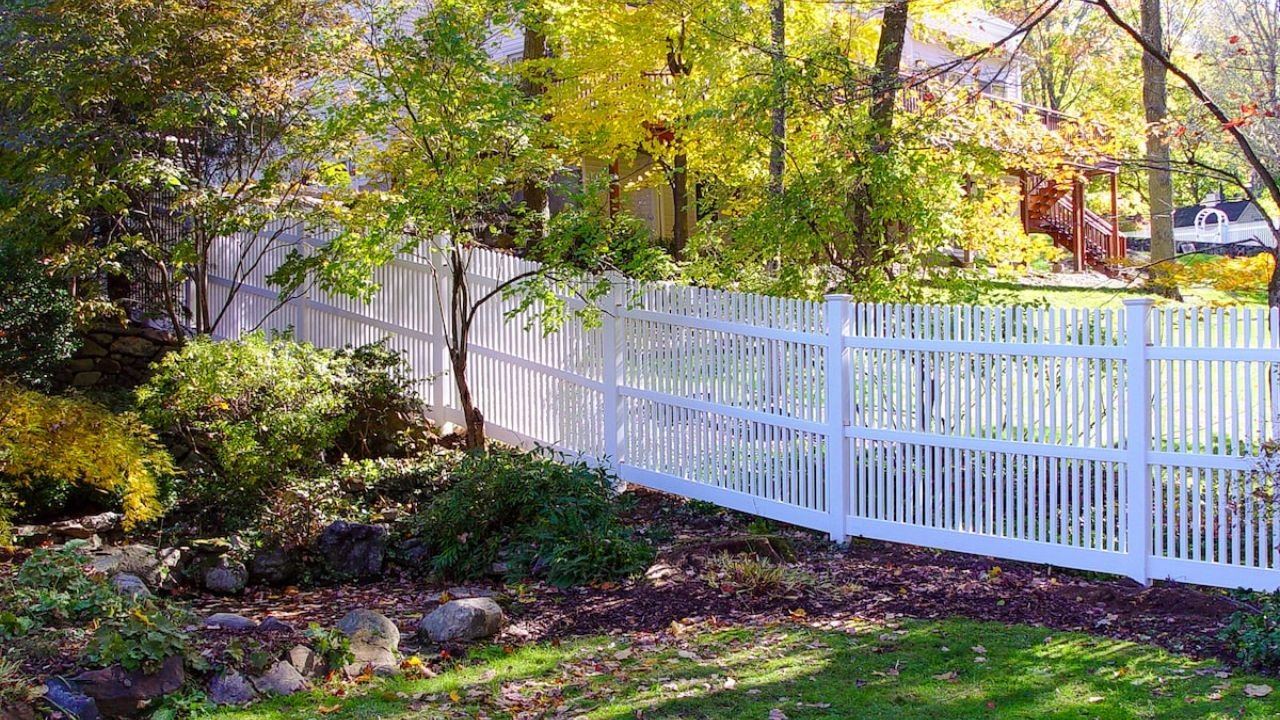
Have you ever wondered how to transform your outdoor space with PVC fencing? Choosing the right fence can enhance your property’s appeal and provide security.
In this guide, we will break down the installation process of PVC fencing into simple steps. By the end, you’ll have a clear understanding of what it takes to install this durable and attractive fencing option. Keep on reading!
Planning Your Fence Layout
The first step in your fence installation is planning the layout. Start by measuring the area where you want the fence.
This will help you determine how much material you need. Make sure to check local building codes and property lines. This ensures your fence is legal and does not encroach on your neighbor’s property.
Finally, sketch a simple design of your fence. This plan will guide you through the installation process.
Gathering the Necessary Materials
Next, gather all the materials you will need. For PVC fencing, you will need panels, posts, concrete, and any decorative caps.
You may also need tools like a post-hole digger, level, and hammer. Choosing high-quality, durable materials is crucial.
These fencing materials will ensure your fence lasts for years with minimal outdoor maintenance. You can find these items at local home improvement stores or order them online.
Preparing the Site
Once you have your materials, it’s time to prepare the site. Clear the area of any debris, plants, or obstacles.
This will make digging easier. Mark the locations of your fence posts according to your layout plan.
Use stakes and string to create straight lines. This preparation step is essential for a successful fence installation. It helps ensure that your PVC fence will be straight and sturdy.
Installing the Fence Posts
With the site prepared, you can start installing the fence posts. Dig holes for the posts at least 2 feet deep to ensure stability.
Place each post in a hole and check that it is level. Pour concrete around the base of each post for extra support.
Allow the concrete to cure as per the instructions. Properly installed posts are the backbone of your PVC fencing and will support the panels securely.
Attaching the PVC Panels
Now it’s time to attach the PVC panels to the posts. Start at one end of the fence and work your way to the other.
Align the panels with the top of the posts. Use screws or brackets to secure them in place. Make sure each panel is level and straight.
This step is where you’ll see your fence taking shape. A well-installed fence enhances property protection and boosts curb appeal.
Finishing Touches
Finally, add the finishing touches to your fence. Install decorative caps on the posts for a polished look.
Check for any loose panels or screws and tighten them if needed. Clean the fence surface to remove any dirt or debris.
It’s essential to maintain your fence for longevity. Regular inspections will keep your PVC fencing looking new. If you ever need assistance, consider reaching out to Irvine Fence Inc for professional help.
Transform Your Space with PVC Fencing
Installing PVC fencing is a straightforward process that anyone can follow. With proper planning, quality materials, and attention to detail, you can create a beautiful fence.
This fencing option provides durability and low maintenance, making it ideal for your property. If you follow these steps, you will enjoy the benefits of your new fence for years to come.
Did you like this guide? Great! Browse our website for more!


